
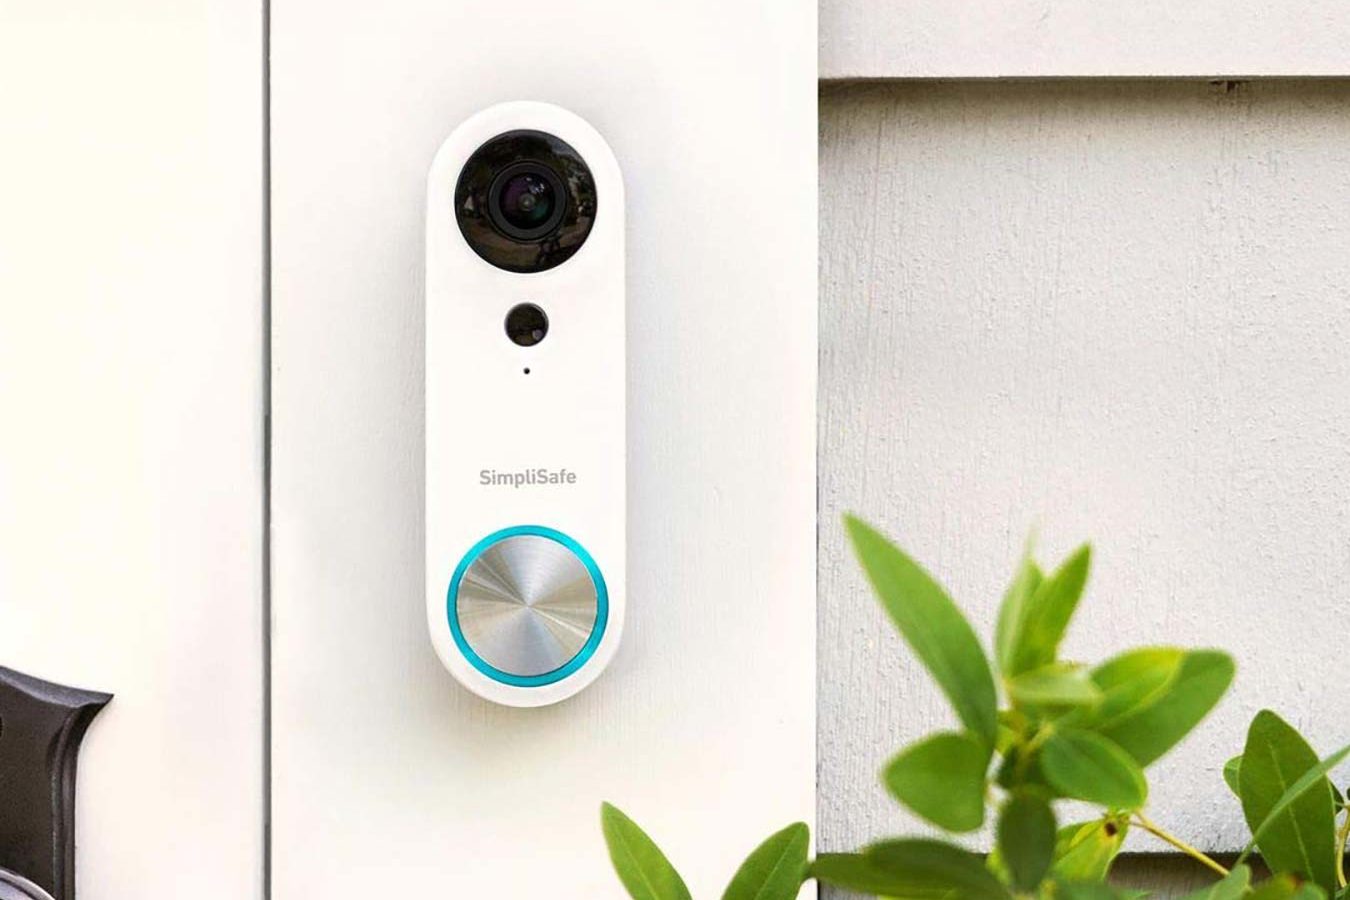
SimpliSafe Doorbell Installation: The SimpliSafe doorbell is very easy to install and setup. The only tools you need are a power drill and your existing doorbell wires. SimpliSafe also offers a guide to installation and has a troubleshooting database with easy-to-follow instructions for common problems. After you purchase the doorbell, you can either install it yourself or call the company for help. There are also some common installation issues that you should avoid, so read on for helpful advice.
Simplisafe doorbell installation instructions
The SimpliSafe doorbell comes with easy-to-follow instructions for installation. In order to set it up, you will need to drill holes in the wall in three different locations. The center hole must be drilled through the wall to pull the wires through. The other two holes are drilled at the top and bottom of the wall plate. The three holes should be drilled with a 3/16-inch bit, and you will need an 11/32-inch drill bit to drill through the center hole.
Next, mark the wall where you want to install the SimpliSafe doorbell. Drill holes and insert wall anchors. Slide the sensor into the desired location. The sensor has grooves on its magnet and sensor, and a simple test will verify whether it is properly placed. The best Wireless doorbell should flash blue whenever you open or close it. You can then turn on the circuit breaker for the doorbell.
Simplisafe doorbell installation issues
If your Simplisafe doorbell is not working properly or you’re experiencing technical issues, you may want to check your WiFi details. Sometimes, this can be caused by changing your WiFi network, or the doorbell may not be receiving any power from your home router. Other common problems include the distance from your home or the frequency of your WiFi network. Below, we’ll look at some of the most common causes of your Simplisafe doorbell going offline.
When the doorbell is disconnected from the router, you must first turn off the power to the doorbell. To fix this issue, power off the Simplisafe doorbell at the circuit breaker. Next, wrap the wires around the mounting bracket. Once wrapped, bolt the bracket onto the wall and push the doorbell into place. Lastly, test the chime to verify the connection. Once you’re satisfied that everything is working properly, you can install the doorbell camera.
Simplisafe doorbell installation guide
Getting started with the Simplisafe doorbell installation process is surprisingly easy. Before installing your new doorbell, turn off the power and check for compatibility. Besides the Simplisafe doorbell’s installation guide, you’ll also need compatible hardware. Installation takes around 30 minutes and is relatively straightforward. You’ll need a screwdriver and a Phillips head security screw. Listed below are the main steps in the process.
First, mark the surface of the wall where you’re going to mount the SimpliSafe doorbell. Drill holes in the surface. Insert the wall anchors. Turn the power to your home and then turn on the circuit breaker. Then, insert the SimpliSafe doorbell mounting bracket into place. Make sure to hold the device with its mounting bracket close to the wall. Once seated properly, turn on the doorbell.
Simplisafe doorbell installation manual
A SimpliSafe doorbell installation manual is an important tool for a new user. The device has several features to make installation easier. Its base station makes an audible noise when someone pushes the doorbell. Unlike battery-powered doorbells, a video doorbell needs to be wired into your home’s existing wiring to function. The manual contains step-by-step instructions for each feature, as well as a mobile app to guide you through the installation process.
The SimpliSafe doorbell installation manual outlines the steps necessary to connect the device with a computer via USB. You’ll also need a male USB adapter cable. Insert the male USB adapter cable into the device’s terminal screws. Connect the other end of the male USB adapter cable to the computer’s female USB port. The transformer should light up an amber light to signal that the connection is successful. After you’ve completed these steps, the device will ring and give you a notification.
Simplisafe doorbell installation video
SimpliSafe Video Doorbell Pro can be hardwired to an existing doorbell connection or installed as a wireless device. The installation requires no specialized hardware and only takes about 30 minutes. The video doorbell is wireless and battery-powered and comes with a motion sensor that alerts you if someone approaches your door. It is also compatible with SimpliSafe Pro, the system’s video recording app. The SimpliSafe Doorbell installation video demonstrates the process step-by-step. Click here to watch the installation video.
After identifying the location of the SimpliSafe doorbell, you will need to drill two holes and insert the wall anchors. You will need a screwdriver, a Phillips head screwdriver, and an adhesive tab. A hex screwdriver will also be needed to install the SimpliSafe Video Doorbell Pro. Once the device is installed, you’ll need to test the chime to ensure that it works properly.